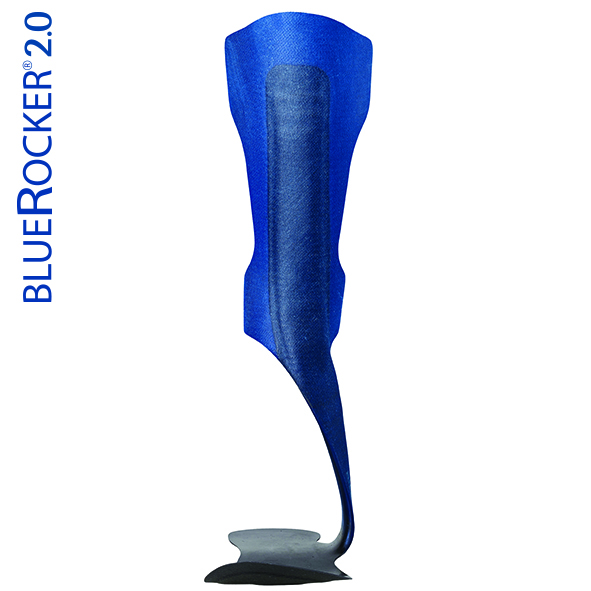
BlueROCKER® 2.0
All foot drop 2.0 Allard AFOs come with a Starter Interface Kit which includes one Starter SoftKIT™ and two Tibia Pads! You love the ToeOFF® 2.0, so upon your request, the same benefits are now in BlueROCKER® 2.0! With more gently contoured "wings", pre-attached MikroFIX™, straps with alligator tabs and D-Rings, and more, we are sure you will love our 2.0 models. BlueROCKER® is identical in shape and design as ToeOFF® but offers more rigid orthotic control. Developed primarily for bilateral foot drop patients and those with more involved pathologies. The extra stability will improve both balance and posture and give the wearer greater security, especially individuals with weak quadricep muscles. Usually the preferred orthosis to be used in conjunction with a socket and toe filler for management of partial foot amputations.
Recommended Range Of Application
Foot drop in combination with no spasticity to severe spasticity. Weakness or impairment in multiple leg muscle groups, impaired balance, limb proprioception, and partial foot amputations.
Contraindications
Severe edema, leg ulcers.
Other
SoftKIT™, ComfortKIT™ and GliderKIT™ interfaces are sold separately. More about product selection and customization can be found in the Allard AFO Professional Instructions.


| Item No. | Size | Product description | Side |
|---|---|---|---|
| 289421010 | X-Small | BlueROCKER® 2.0 w/ D-Ring | Left |
| 289421011 | Small | BlueROCKER® 2.0 w/ D-Ring | Left |
| 289421012 | Medium | BlueROCKER® 2.0 w/ D-Ring | Left |
| 289421013 | Large | BlueROCKER® 2.0 w/ D-Ring | Left |
| 289421014 | X-Large | BlueROCKER® 2.0 w/ D-Ring | Left |
| 289422010 | X-Small | BlueROCKER® 2.0 w/ D-Ring | Right |
| 289422011 | Small | BlueROCKER® 2.0 w/ D-Ring | Right |
| 289422012 | Medium | BlueROCKER® 2.0 w/ D-Ring | Right |
| 289422013 | Large | BlueROCKER® 2.0 w/ D-Ring | Right |
| 289422014 | X-Large | BlueROCKER® 2.0 w/ D-Ring | Right |
| 289401010 | X-Small | BlueROCKER® 2.0 w/o D-Ring | Left |
| 289401011 | Small | BlueROCKER® 2.0 w/o D-Ring | Left |
| 289401012 | Medium | BlueROCKER® 2.0 w/o D-Ring | Left |
| 289401013 | Large | BlueROCKER® 2.0 w/o D-Ring | Left |
| 289401014 | X-Large | BlueROCKER® 2.0 w/o D-Ring | Left |
| 289402010 | X-Small | BlueROCKER® 2.0 w/o D-Ring | Right |
| 289402011 | Small | BlueROCKER® 2.0 w/o D-Ring | Right |
| 289402012 | Medium | BlueROCKER® 2.0 w/o D-Ring | Right |
| 289402013 | Large | BlueROCKER® 2.0 w/o D-Ring | Right |
| 289402014 | X-Large | BlueROCKER® 2.0 w/o D-Ring | Right |
-
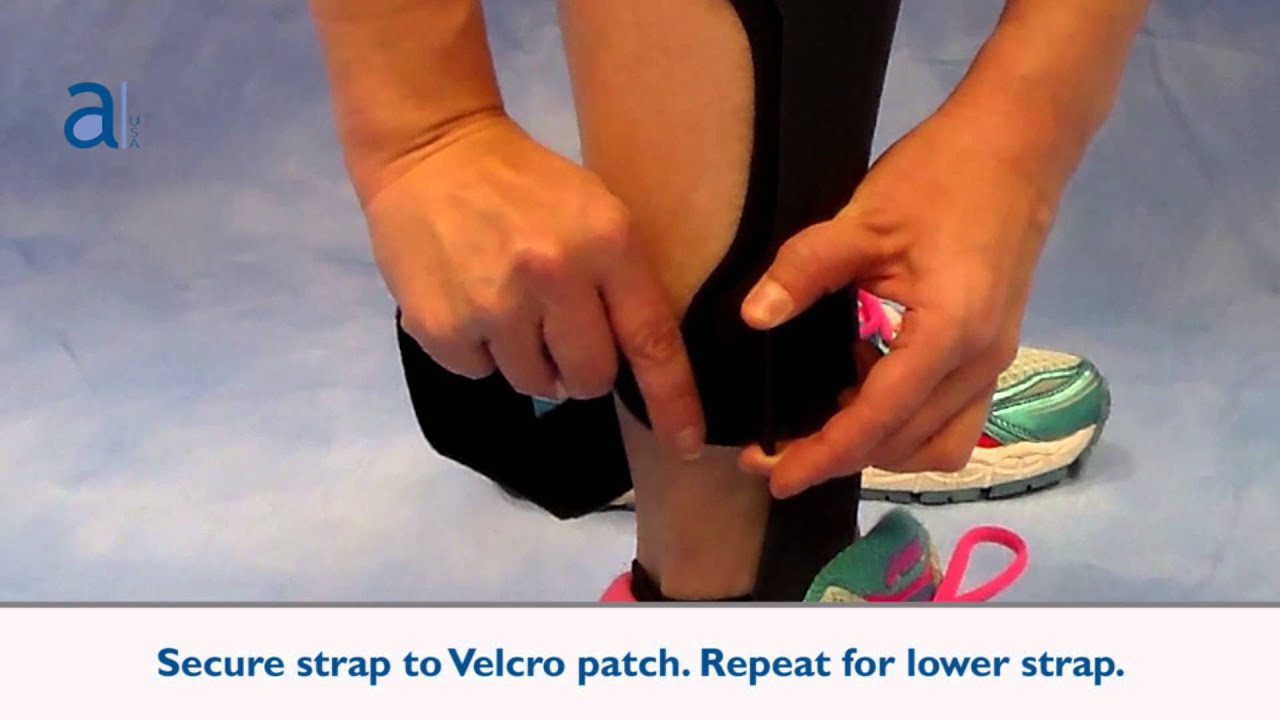
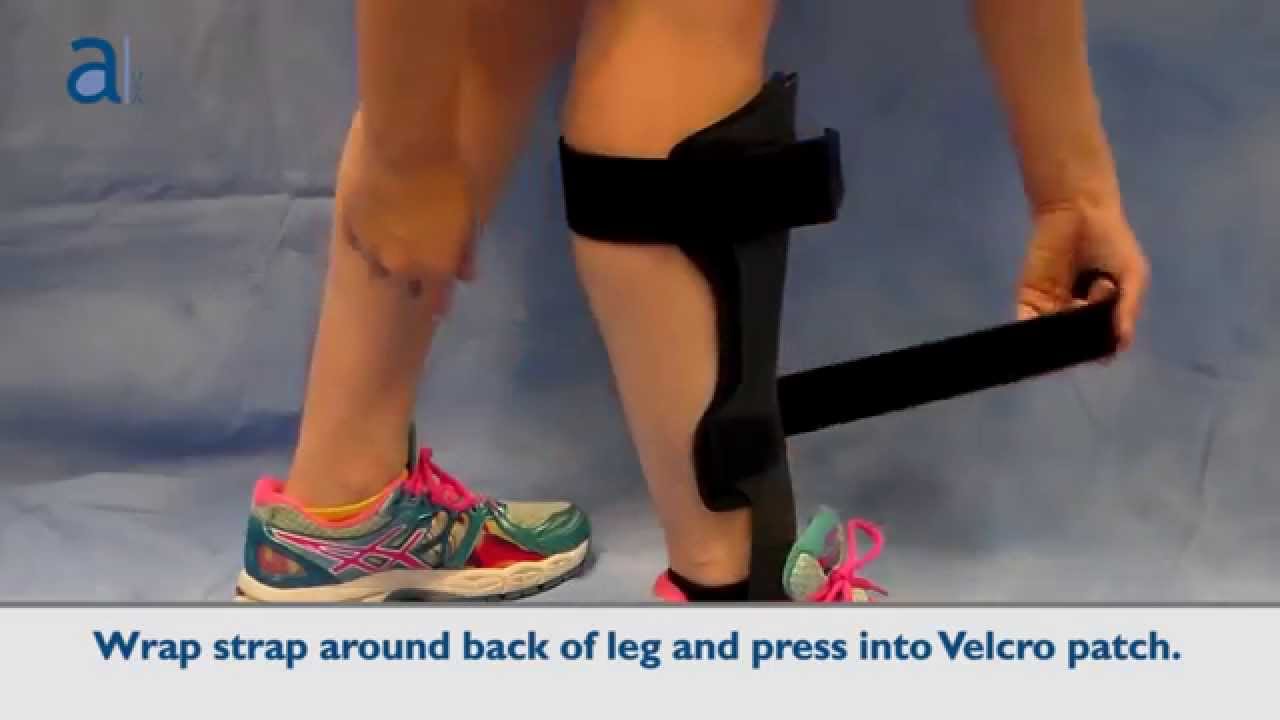
 Allard AFO Patient Instructions - E111 (938.42 KB)
-
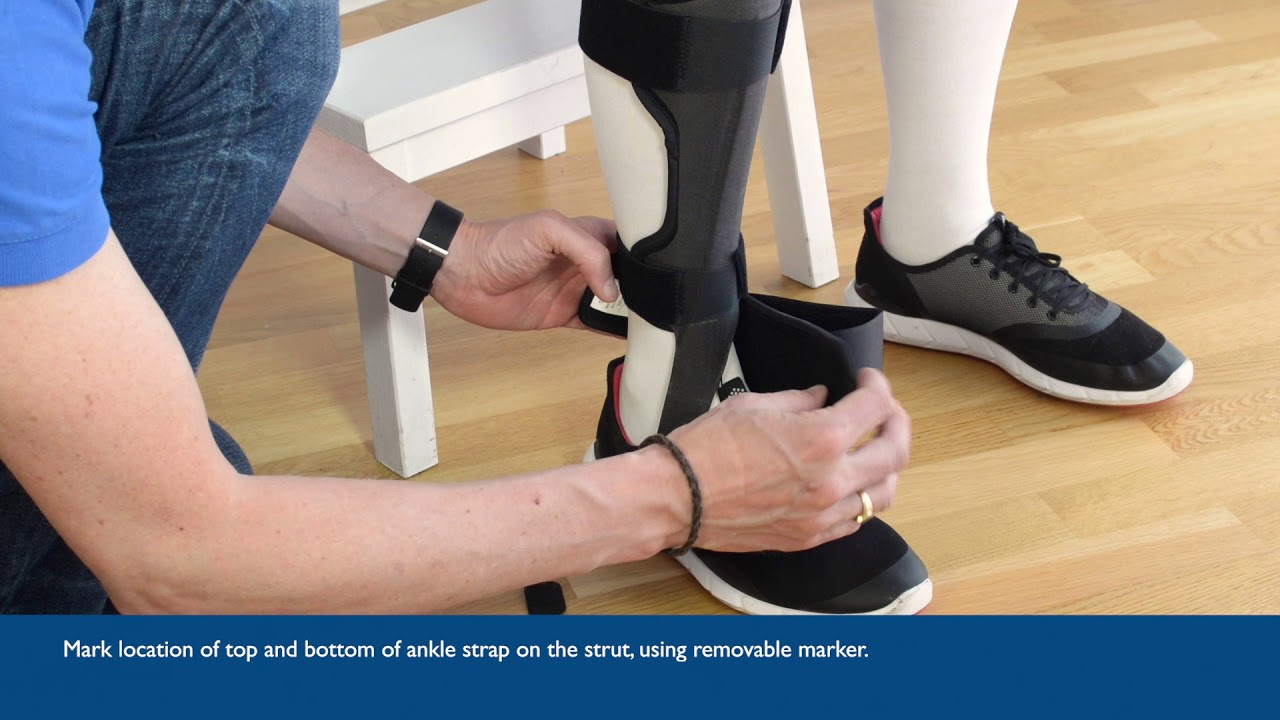
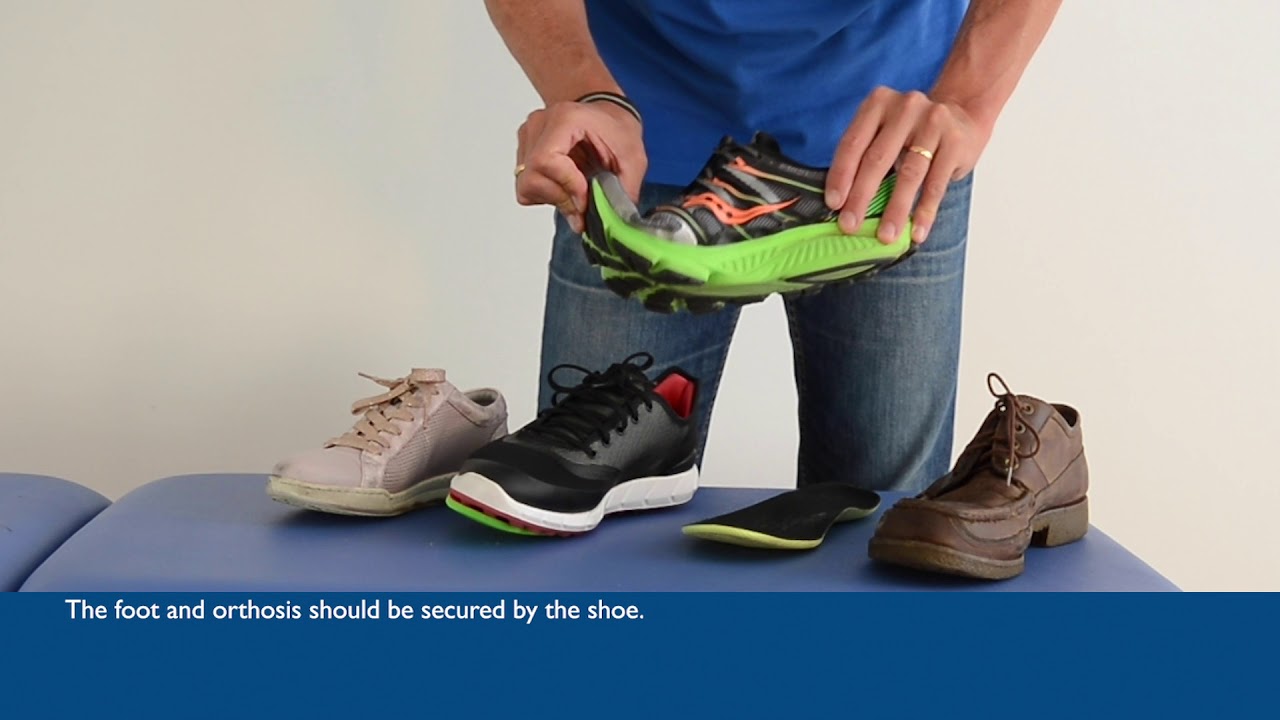
Allard AFO Professional Instructions - E110 (1.22 MB)
-
Allard AFO Patient Instructions – Spanish - E111S (881.36 KB)
-
Allard AFO Professional Instructions – Spanish - E110S (1.44 MB)
-
Warranty Registration - E117 (142.96 KB)
-
Warranty Info Pamphlet - E112 (209.27 KB)
-
Partial Foot Illustrative Guide - A100 (1.2 MB)
-
Gait Assessment Kit Brochure - A181 (261.09 KB)
-
Allard AFO 2 ½ Intro Brochure - A128 (377.32 KB)
-
Allard AFO Booklet - A050 (3.58 MB)
-
Functional Guidelines Poster (1.43 MB)
-
T-Strap Flyer (597.87 KB)
-
WedgeKIT Flyer (232.26 KB)
-
8-Step Customization - A101 (1.57 MB)
-
Product Selection Guide - A103 (568.18 KB)
-
Interface Options Flyer - A104 (205.98 KB)
-
40 Reasons Why Booklet - A010 (2.94 MB)